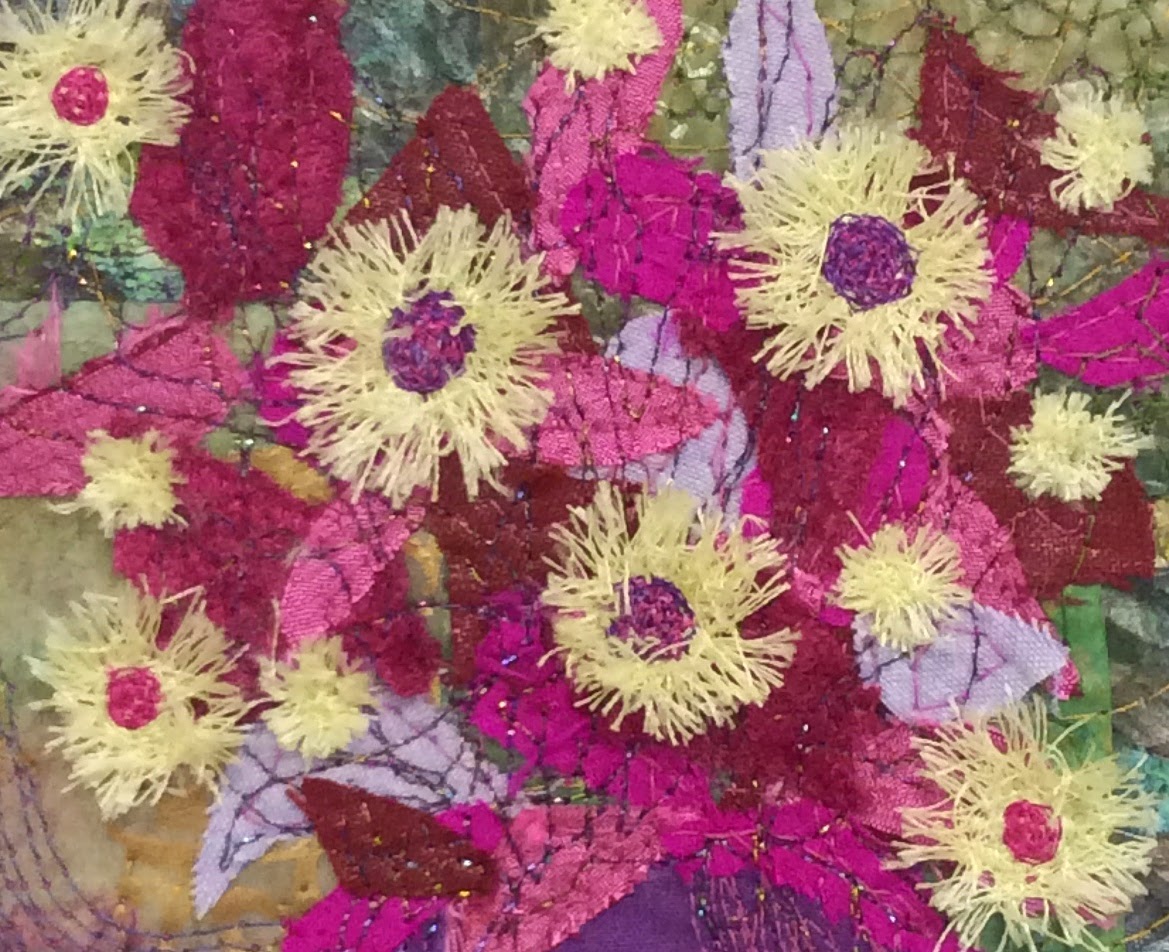
Morag
Jill
Libby
also Libby
Sue
Carole H
Christine (work in progress)
Vix (work in progress)
Meg (work in progress)
Judith (work in progress)
Maureen (this is work in progress - it is now finished, but I forgot the photo!)
Lyndsay (work in progress)
Start arranging flowers and leaves; don't worry about a vase for now.
Maggie (work in progress)
(you'd never guess that Maggie used my own stash of fabrics here? I just LOVE how this is totally different to what I did with the same fabrics!)
Pin or hope for the best and then go for it, stitch them down - free machining - in swooping lines, starting from where the vase will be eventually! Use a cocktail stick to hold things in place while you stitch, not your fingers...
Carole B (work in progress)
Continue with the swooping lines to hold everything down, but don't knock the texture back too much. You can add further layers of petals and flowers on top, and keep it loose and open.
Sheila (work in progress)
Morag used thread daisies on her finished piece, so we also had an impromptu thread-daisy lesson for the uninitiated!
If you want to learn how to make them too, get some calico nice and tight in a hoop, and free-machine some circles
Stitch around twice; cut out your circles (keep the fabric in the hoop).
Start stitching (free machining still) in the calico somewhere, then take a deep breath and go off the edge and across your empty circle - remember - it is just a sewing machine - it doesn't "know" there isn't any fabric there...
Reach the other side, take a few stitches around and breathe, then go back across.
Cross over in the middle but don't obsess about crossing your lines perfectly. Continue to build up a mass of threads
(NB When I do the first few lines, stitching across space, I find that my machine is "happier" when I push the hoop away from me (i.e. stitching towards me) rather than when I pull the hoop towards me (stitching away from me) - so I rotate the hoop to stitch back across, rather than push it back and forth. I do this until it gets a bit busy in the centre of the daisy, then I don't worry so much)
So now your daisies can be cut free!
and the holes can be re-used to make more daisies - enjoy!


A really brilliant post - I love the variety that you have all created and the tutorial has inspired me to have a go - thanks for sharing. x Jo
ReplyDeleteLovely to see the work of your students. I have to say I have never stitched my circles before cutting out the calico when making flowers so there is something I've learned. I made my daisies last week just by stitching onto water soluble.
ReplyDeleteAhhhh what a sweet flower shop ;-)
ReplyDeleteLike Gina I would use water soluble, and if holding petals down with a cocktail stick proves problematic I have found that. Dab of Pritt stick can be just enough to create order when chaos is bursting to get through.
ReplyDeleteLove the variety of work. I remember doing those cut circles in my embroidery C&G and they were great fun.
ReplyDelete