As promised for those who are nosy, like me, and want to know what I've done with my desk and studio space and why.
And while I'm the first to admit that my absolute favourite way of procrastinating is to have a sort out, I promise you - this really needed to be done.
(This is a long post, so if you want the short version skip down to the bullet points!)
As you may remember if you've followed me for a while, I moved into my new studio four (four!) years ago. Nearly everything came from IKEA, not least because I could know in advance the precise dimensions of all the different bits of furniture and work out how to fit everything in! Ever since I was little, I've loved rearranging furniture and planning layouts.
Here is my empty room and all the boxes from my first IKEA haul four years ago:
And here is what it looked like after setting nearly everything up:
And since then, it's
kind of worked, but also not really. Here's the other end of the finished space. Comfy chair for reading books from the little bookcase of arty books, big textile books on shelves on the RHS, two chests of drawers for fabric with a glass top for painting, and my ironing pad. The curtains hide the storage area under the stairs - a third of it is 2 metres deep but narrow; two thirds is just under a metre deep. There are three sturdy IKEA storage cube shelves on castors that fit in here, as well as two trolleys holding paint, dye, glue, printing tools etc.
So the rug was the first thing to go years ago. The whippet claimed it as his own, and it's now by the fire in the other room - and also not as white! Then the chair....I spent more time moving it out of the way so I could pull out the storage trolleys, rather than sitting in it. Bye bye. That went soon after.
Then that shelf holding my laptop. Took up way too much space. Had to go. I found a way to tuck my laptop and keyboard out of way completely, under my desk, but you can see how small the desk space actually is. And because I couldn't sit at one end (drawers underneath were too close to my knees, and then the dog discovered the radiator) things just got dumped on it. I kept clearing it, but it was an endless battle.
You can see the my sewing machine on the right hand side, and how little room I had for stitching. And when I got my big new sewing machine I started using the knee lifter all the time - so the little drawers had to move over, which reduced my available sitting space even further.
There was one small space in the middle of the long desk to do everything. And that's where the central supporting leg of the desk was, so there wasn't actually any leg room! I also had a naughty habit of stashing all sorts of things into the corner under the desk, where they never saw the light of day again.
One attempted fix was to find an extra table that could be tucked away under my bookshelves, which I did in the form of a second hand Ikea gateleg table that folded down to nothing. I used it when I did my big commission back in 2018.
But the problem was, even though it tucked away neatly under my shelves (one of which I had to cut in half to allow the space) the narrow top also became a dumping ground for stuff.
And a lot of the stuff that got dumped everywhere in my room wasn't my own stuff for creating and making new work, but teaching stuff - half-started/finished demonstration samples, folders, boxes of materials and so on.
It's was really starting to get on my nerves that in order to start anything for myself, I had to have a major clearing up session first.
Eventually it became easier not to do anything creative at all, but just do more admin - which I could do from the tiny portion of my desk where my laptop fitted. Even though I had no leg room. You may have also noticed if you've followed me for a while that there hasn't been a lot of creating going on, and it's actually made me feel pretty depressed, and my room set up was largely why. It felt very churlish to complain about the space not working for me, when the whole point of converting our garage (and creating fairly substantial bike storage issues) was to give me a room of my own, so I've struggled on. But I've got such a busy year coming up, and so many things I want to do as well as have to do, something had to give.
SO. Between Christmas and New Year, I took the time to trial what has been noodling around in my mind for a while now. First I had to clear all the surfaces. Then I had to haul out the dreaded baskets of stash under my desk. Then I had to get very serious about what I wanted or needed to keep, and what I could let go. That always feels good after the event, but is painful to do!
Remarkably all these baskets were stashed under my desk.
You could say I have a thing for baskets...
Then I could start moving furniture (my favourite bit but it makes everyone else nervous: my husband hasn't ever let me forget about the time he came home from work and found a wardrobe stuck across the landing, because I had decided to have a bit of a sort out while he was out...)
Here's the old desk top in the new position but moved away from the wall, to show the difference another 20cm of desk depth would make. This is when I knew I was right to go through the hassle and expense of carrying on.
There was one frustrating moment after I had moved my fabric drawers down the room by 80cm that resulted in a Billy bookcase with no home and still too much stuff to put away, but after a bit of head scratching I came up with the brilliant solution of fitting it into my tardis-like storage space at the back of my room (the bit that is actually under our stairs) and VOILA a bookcase that can now be JUST for my teaching files, workshop bags and equipment. Fantastic stuff. You can just see it tucked away behind the curtain on the right hand side here (sorry for the funny angle!). That in turn created space on my other shelves, and so it went on, for several days.
Eventually I was at my second favourite moment, when I actually get to go to the land of blue and yellow and buy more flat packs!
Then the small matter of opening boxes and constructing, and finally, selling my surplus desk top and the old Ikea gateleg table - which I managed to do very quickly, and to lovely people who were happy to give them a new home.
And after that, everything slotted very neatly into place.
Unfortunately since I've been in, I haven't had a chance to use my new desks! I've been in school supervising exams, then travelling at the weekend for family things. I did use my new "admin" desk to do my tax return but I'm desperate to get to the "creating" desks. Today might be the day, as soon as I've posted this!
So here's a summary of why I had to do this, and what it achieved:
Old problems:
- Desk is a dumping ground
- No leg room
- No usable space
- Very hard to film space (under window, no clamping point for phone to video)
- Desk not deep enough for large or multiple pieces of work
- Have to tidy all stitching away in order to do admin.
- Have to tidy the admin in order to do any stitching
- No desk space for sketchbook/drawing/painting - the only painting space is on the glass top of my fabric drawers, which is even narrower than my desk at 48cm deep.
- Teaching stuff encroaches on my own stuff, so I end up doing teaching prep not my own work as it's easier
- Paint/mixed media materials are in storage space and have to be wheeled out to be used
- Lots of books I haven't read
- Can't easily reach the shelves by the window that hold my bead drawers
- Too much stuff stowed away that I've forgotten what I have and why
- Desky stuff like stationery has to share a set of drawers with sewing equipment and threads.
New solution:
- 2.4 metres of usable desk space for creating ONLY - I don't have to clear it to use my laptop
- Separate desk for admin/laptop - doesn't get in the way of creating
- Deeper desk (80cm instead of 60cm) - much more usable space
- Loads of leg room - not on a corner, deeper desk, no dog bed in the way
- Desk is under shelves not window - can clamp phone for taking video of work
- Teaching materials are separate from my materials - I can concentrate on my own work
- Stash is in storage trolley cubes and more accessible.
- Paint/mixed media trolleys are in main room and more likely to be used
- Embellisher fits on desk - more likely to be used
- My books on creativity and art are right by my desk and more likely to be read
- Bead storage drawers are easier to access
- A4 printing paper, scrap paper, stationery etc have their own drawers
- My big DSLR camera has it's own deep drawer, along with its accessories
- More drawers near my desk for hand embroidery threads - more likely to be used
- Two large desks side by side give me separate zones for sewing/texiles and painting/drawing without having to tidy one away - I may actually do some of both now!
- Having a chuck out of things I don't use or want to use any more feels GOOD!
- Dog bed is still by my laptop desk, and by the radiator, and doesn't block anything. Hooray!
So many problems have been fixed, I'm slightly cross with myself that it's taken four years to work it out! But it's only by living in a space and working out how you actually use it, that you can see what isn't working and what would make it better.
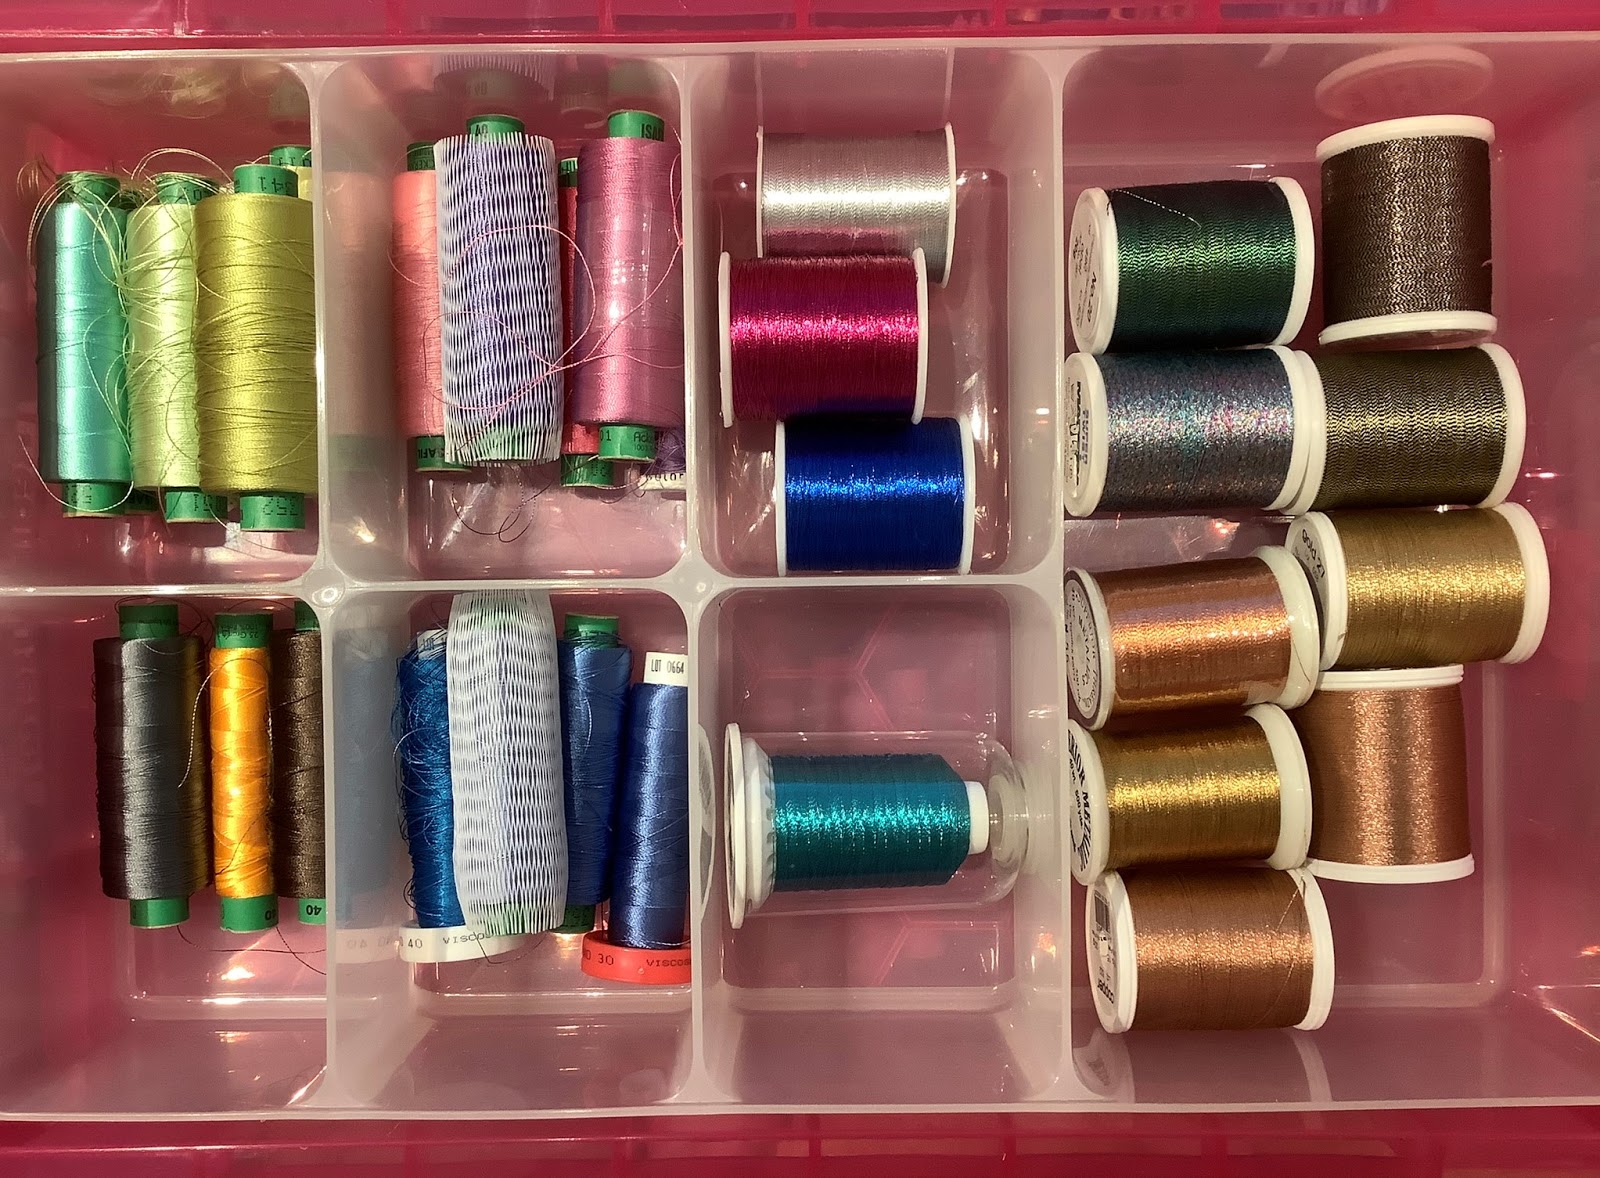
Next time, I'll show you how I've sorted my machine embroidery threads. I did that before this big sort out and it's been what they call a "game changer". But right now, I'm off to use some of them!