Thank you for all who read their way down to the end of my last post - it was much longer than first anticipated! I hope you've enjoyed visiting the blogs I nominated (apologies in advance for the Google-suggested translation for a certain sentence in Ingrid's post - I have suggested an alternative to Mr Google, but he's ignored me so far!).
Right, where were we...free machining, I think!
In class we have been continuing to practice our free machining skills, now using free motion stitching to "colour in" - in small areas

(and demonstrated far better than I could, by people like Linda Miller and Gina Ferrari, here and here)
but we've also used free machining to fill in, shade or add interest to larger areas:
(again, demonstrated far batter than I could, by people like Dionne Swift).
For stitching the small things, it is important to try and keep the stitches flowing, not too tiny, and with not too much overlapping - otherwise the background fabric gets tougher and tougher to stitch! Larger stitches also catch the light and glisten (particularly if you use machine embroidery rayon thread) and the glistening can help to disguise any missed bits!
For stitching larger areas, it is also important to keep the stitches flowing - the key is to move the fabric (or hoop) smoothly and confidently, keep everything relaxed and smooooth....
Here's how we've got on with the small pieces (there are a lot of owls as I found some lovely ones just the right size to stitch on the Girl's violin music folder!)


Di (going off-piste with her redwork owl!)

Morag

Lyndsay

Owl in progress, but I can't remember who he belongs to! Sorry!

Libby (owl in progress)

Carole B (a robin in progress)

Carole H

Christine

and last but not least, Judith...I'm a bit concerned about this Russian doll, she seems to have got herself into a bit of fistycuffs...
Not everyone enjoyed working so small (and I must admit, I've not really done much of this intense, dense stitching - must be a reason!) Then again, the option to work bigger was a challenge as well!
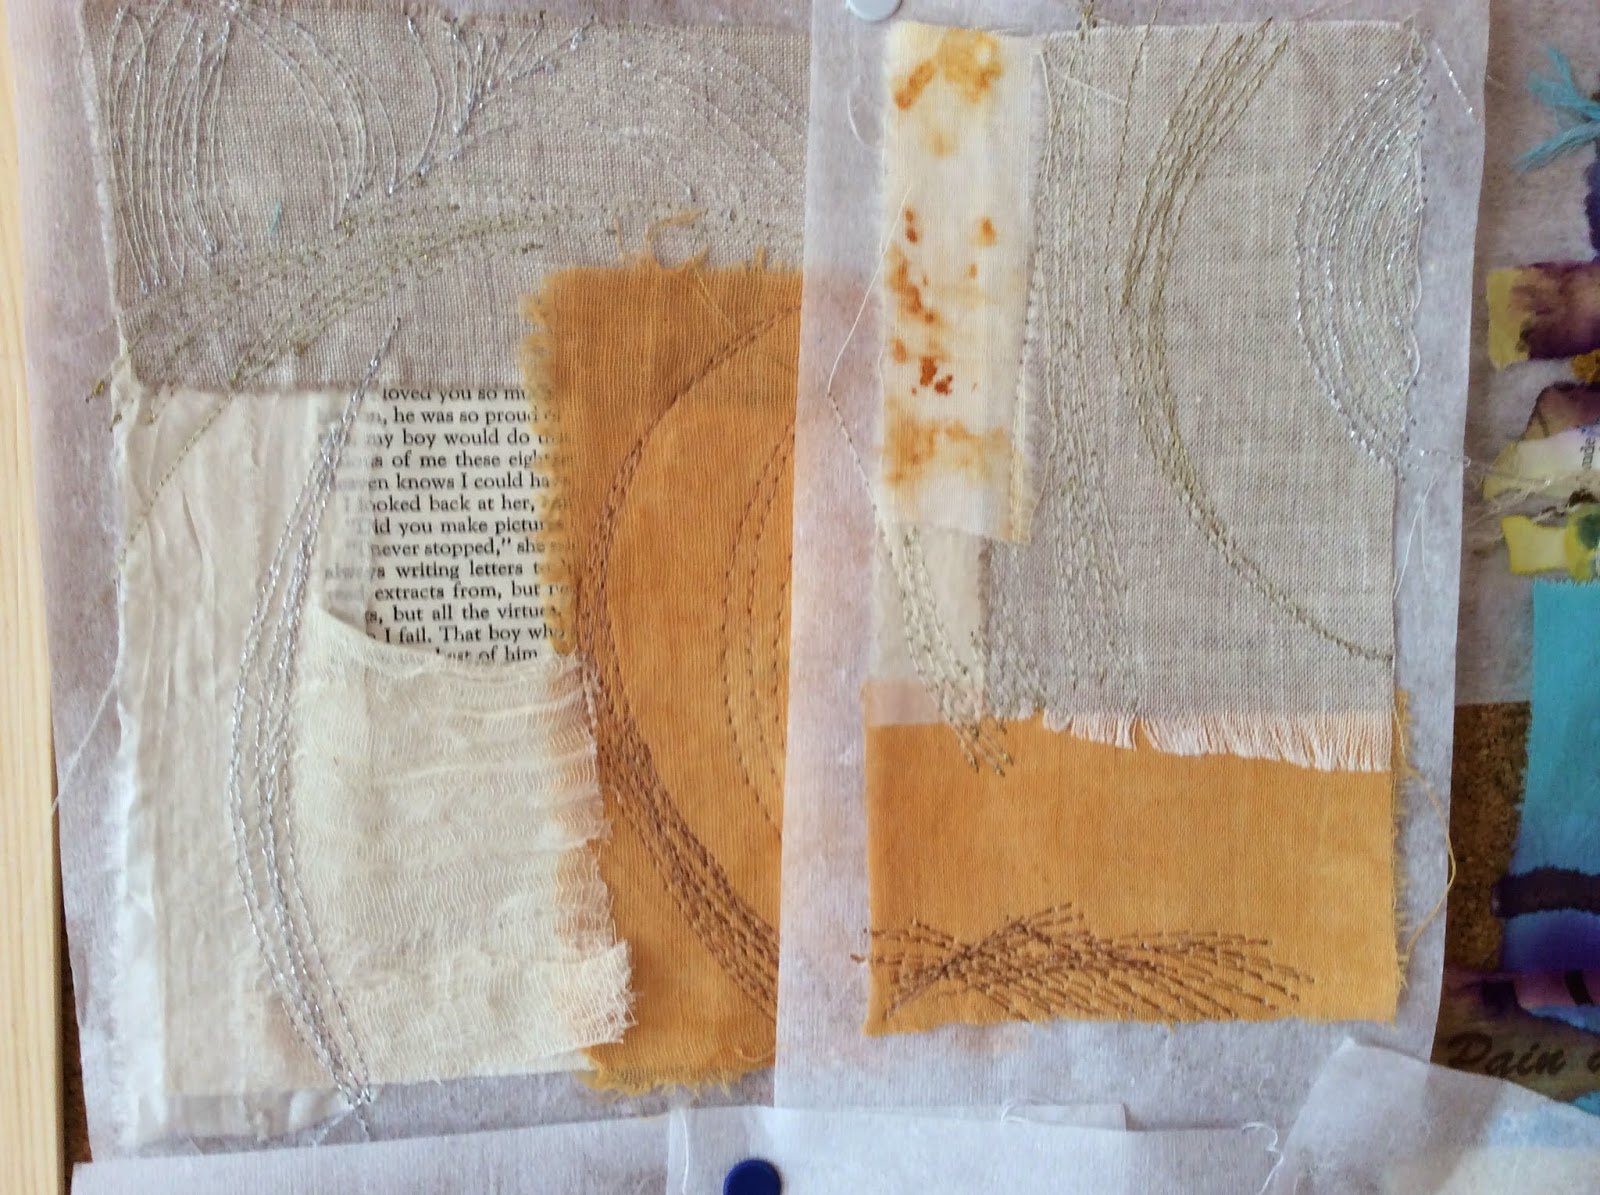
The idea I presented was to work in an abstract way, not worry about creating a picture, but just practice the stitching - keeping things flowing and smooth. I know not everyone is pleased with their results, but the point was not to create a pleasing composition but to practice the stitch! So I think all those who attempted this were very brave, to work in such an unstructured way:


Jill

Sorry - my brain has gone blank again and I can't remember whose this is!

Maggie

Lyndsay


Morag (the bottom sample was over-painted after stitching)

Kathy
So we are going to continue our free machining, but not the abstract work! Next time we will be using free machining to applique again (but in a slightly different way) and to construct backgrounds.
Until then!
I found your blog hop fascinating and brave. Love the work being done in this entry to, some great experiments.
ReplyDeleteI love all the abstract ones best! But maybe that's be my brain works in an abstract, random way!
ReplyDeleteLove your blue spiral, Iz !
ReplyDeleteAnd free machine stitching is such fun !
(indeed very brave students)
This is not my favourite type of fmq but your students have done very well. I really like the abstract ones.
ReplyDeleteHi Dear,
ReplyDeleteoh my goodness! This is art! I love your works!
Thank you for sharing
and all my best from Austria
Elisabeth
You have created small but nice designs in the class room. I personally like to work on small projects because you can wind up quickly and experiment with something new and different. I like your suggestions of working on small things.
ReplyDelete