Showing posts with label beads. Show all posts

Friday, 15 March 2019

Philosophy in Five - on Friday

I've spent a lot of the last few weeks making cards - endless cards! I've made close to 100 handmade, stitched cards for sale at the Ramster embroidery exhibition taking place over the next two weeks, and also for my stand at Brockenhurst in April. I've been on a roll, making these little miniatures, as well as a few larger unframed pieces for the browsers.


So it's inevitable that having delivered my work to Ramster on Monday, I came a bit unstuck as to what to do next. It's not that there's nothing I should be doing, I've just lost the momentum of preparing for an imminent deadline.

At times like this, I tend to flit from one task to another, and all I can do is stick with it, keep doing, and eventually something will gather enough momentum to hold my attention for more than a day and then I'm off again.

So here's what I've been doing - and by writing them down, I realise that yeah, maybe they are more linked than random, and together I think they sum up my creative philosophy quite nicely:

1. Use what you have

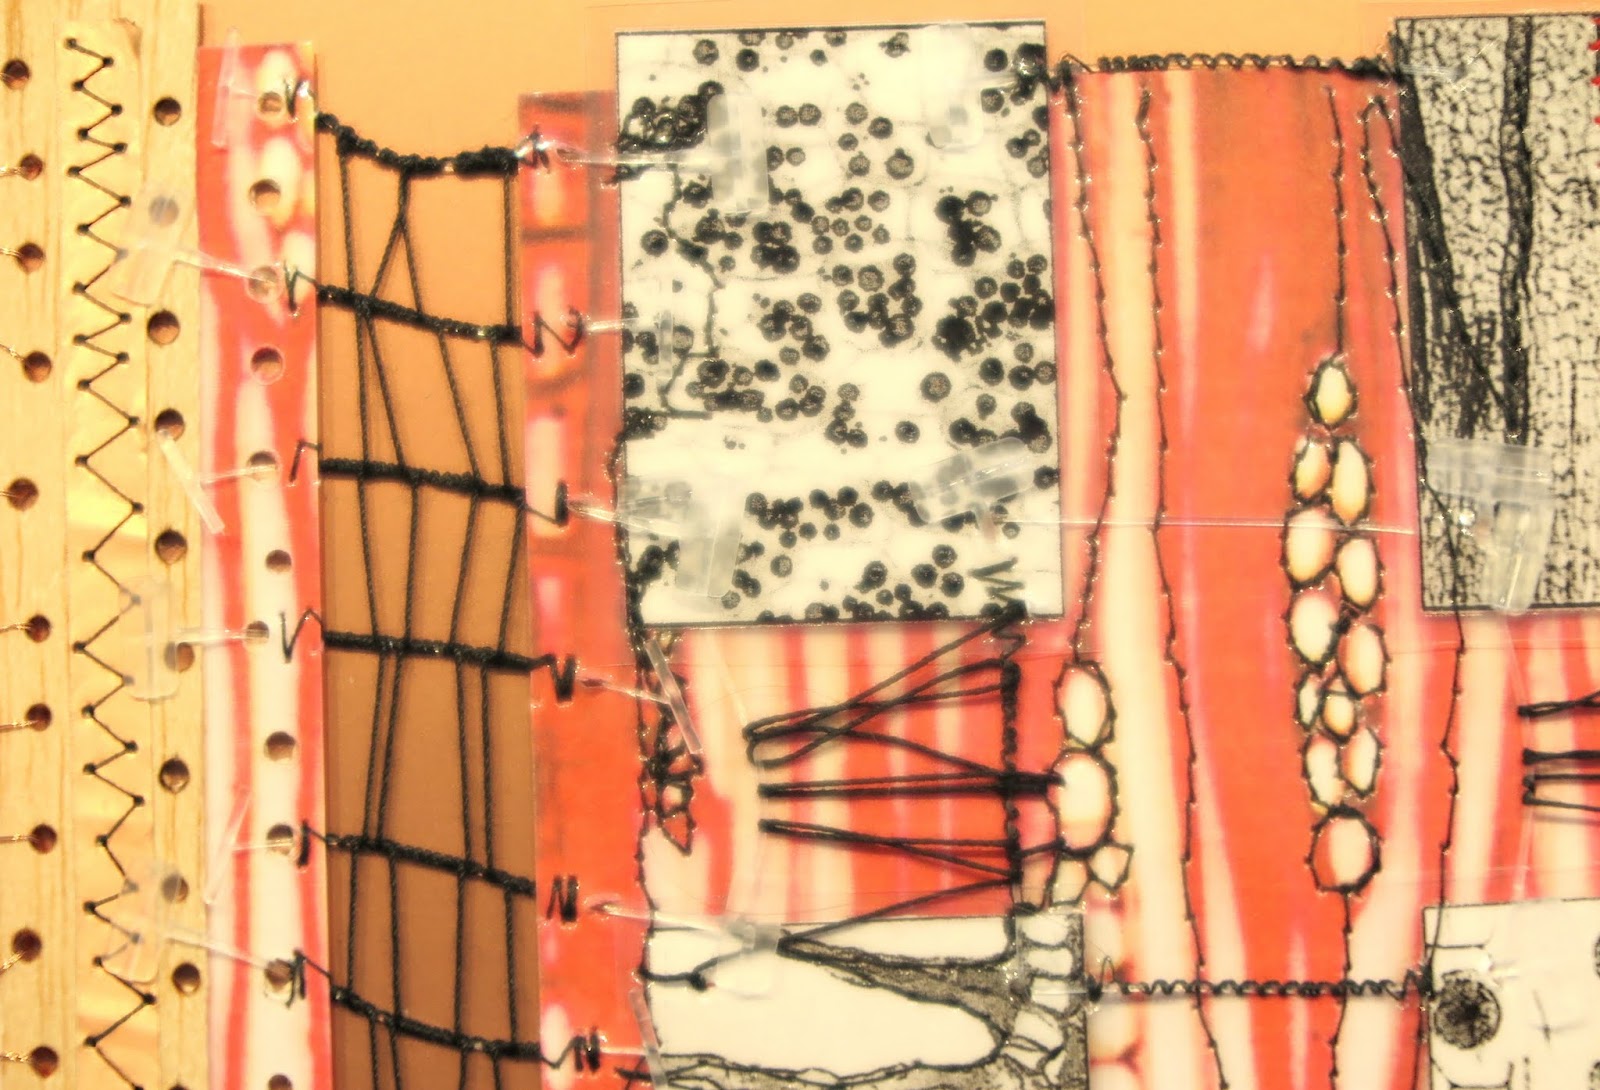
In my general pottering about the studio, picking things up and putting them down again, I bought a new box of tissues. I was about to recycle the old box but I was struck by the patterns (it was no accident that I chose that brand and that box at the time). So I rummaged in my little heap of scraps for some things I could combine and had a little play. I'm not sure what happens next, but I think it'll involve punching stitching holes and using bright thread.


2. Just because something is broken and discarded doesn't mean it isn't beautiful

I've also been working my way through my growing collection of broken jewellery and beads - removing findings, cleaning up, cutting strings to get at the little lovelies. I've been starting to edge some of my embroideries with beads and dangles, and want to do more. I'll package up the surplus beads with fabrics (see below).


3. Second-hand fabric is nearly always more interesting than new

And I've been having a high old time, creating huge messes on the floor, cutting the selvedges and cuffs and collars off my stash of second-hand goodies.


I even save the little strips from folded cuffs and hems - perfect for cards and miniatures.

These fabrics will all find their way into my creations, and the surplus will go into more Creativity Packs. I made some packs a while ago (too long ago - I love doing it, so I don't know why I haven't done any more!) and they flew out of the Etsy shop - so these next packs will be for sale at Brockenhurst.


4. Buy one get one free - don't overlook the freebies - also known as Use Everything

Cutting up clothes yields buttons and trims, and I've now got a new cowl/scarf because I bought it for the lacy edge (now removed and stowed in the stash) and kept the rest! I'm wearing it today, and it's my new favourite thing.


Also, the scraps from cutting up every little bit will go back to the charity shop, because they can get money from selling rag. The best selvedges I will save and use - for tying boxes shut, tying bundles, making cords, or using in embroideries.


5. Colour is wonderful

I also took some time yesterday (OK, all day) to cut skeins of white cotton thread (from a massive cone I found in a charity shop years ago) and dye it. I dyed some cotton fabric at the same time, to mop up the excess dye. I am not an expert dyer, and I don't do it frequently enough to have a good system - which is why it takes so long! - but I'm loving the results. Again, these will be on my stand at Brockenhurst in some form or other - in my embroidery, in miniatures/cards, or for sale separately or in the Creativity Packs.




Tuesday, 12 April 2016

Taming my Magpie Mind

That's the title of a talk that I'm supposed to be writing - I have until tomorrow teatime to finish, as I'm teaching on Thursday and invigilating exams on Friday. So what better time to write a blog post!!

Apologies, etc etc, as usual for being rubbish at keeping the blog up to date.

Here are some photos of a few things that I'm talking about. This little collection is where the rot set in...where I learnt to use materials and techniques I would never have dreamed of...where the flood of ideas started...why my mind now needs taming!!


My first ever piece of machine embroidery, before I started C&G. I did this with Wendy Dolan.


One of my early C&G pieces. Detest the colour combination, but oh look! Are those holes burnt through with a soldering iron....??


A box (lying on it's side here). Can you see my name? And can you also see those beads, stitched onto the edge?? I think this is where the "difficult bead thing" started....


Little textured piece - with embroidered wire spirals, obviously (RHS, look carefully).


Grated crayon and cling film. Uh-oh....


OK. Should start to get worried now.


Grating silk on a cheesegrater and poking stuff through the rips?


Or just burn some more holes in things...


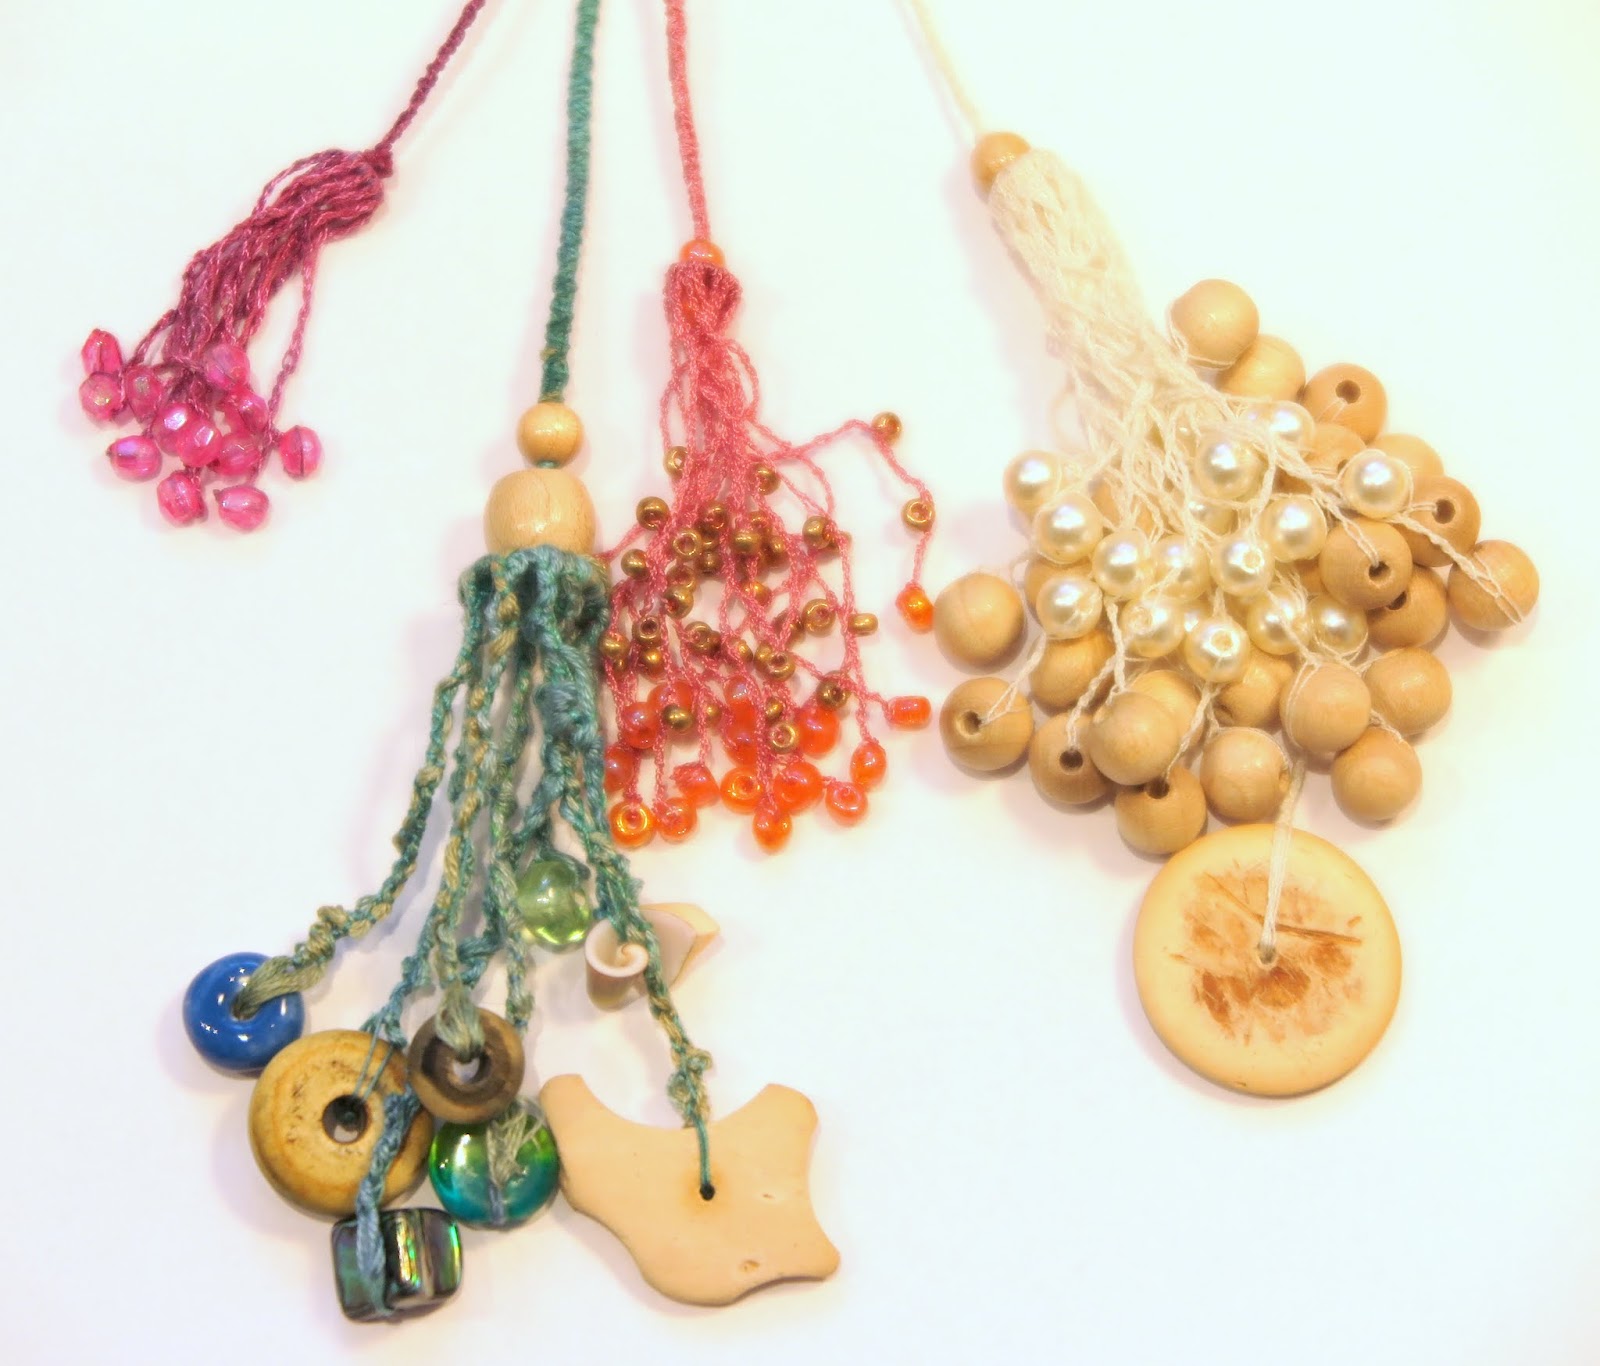
Ah! These look faintly normal - beaded tassels, stitched completely on the sewing machine...those difficult beads again...


So why not incorporate "difficult beads" into a cobweb felt scarf covered in the little blighters. Yes, every bead was stitched by machine, including the fringe.


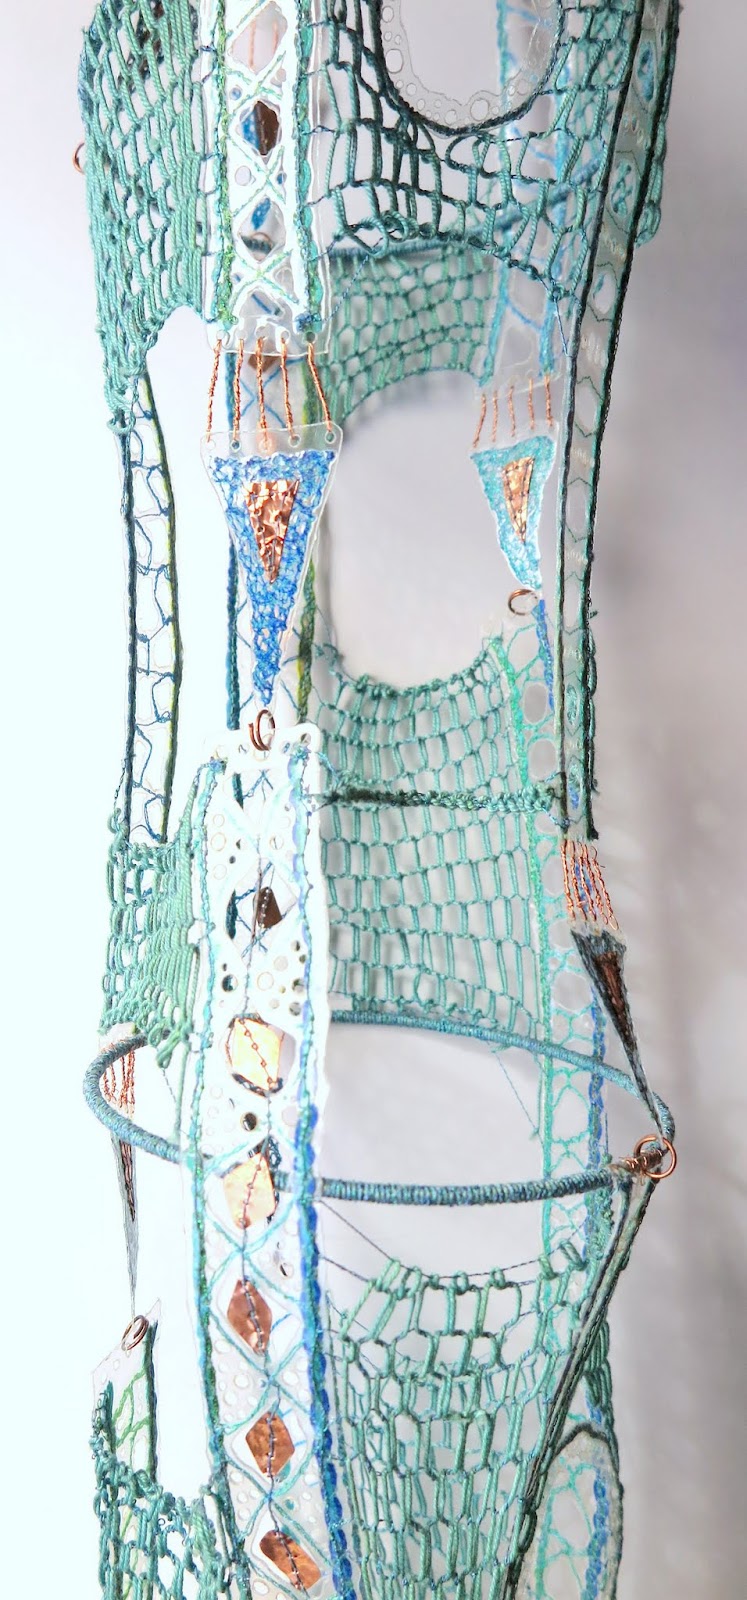
This is where the laminating started....(Yes, we need a laminator. No, not for the office).


With added handstitched "netty" bits, copper shim, wire connections, and galvanised wire hoops (they've definitely featured in my work since I made this!)


What happens if you are playing with stitched laminated bits and pieces and also volunteering in a charity shop? You take the tag gun home and use it to connect your laminated embroidery, that's what you do...


If he wasn't worried before, Mr G was definitely worried now...


Ah! Paper! How wonderful, something else to collect...


including those brown paper grocery bags, oh, and sticks. Obviously. Must have sticks.


And wire! Yes! Do more with wire...


So I did...looks a bit like my recent beaded wire fish and leaf, made earlier this month:


That's all for now! 

If you'd like to come to the talk, it's with the East Kent Embroiderers' Guild branch, near Canterbury this Saturday. Details here.


Tuesday, 18 November 2014

Teaching Tuesday: adding a bit of sparkle

As the festive season gallops up on us, perhaps it's time to consider adding a bit of sparkle to our work!


Sequins and beads, stitched by machine - because I can, and because I'm too lazy to do them by hand :). 
I could have stitched the buttons by machine too, but that would involve changing the presser foot...

NB This is all free-machining - teeth down, embroidery foot on


To stitch sequins, take it nice and slowly and don't be afraid to use the fly-wheel to lower the needle into position to take one stitch. When using the fly-wheel, make sure you only EVER turn it towards you, never backwards. So to get the needle back up, either use the foot pedal if your machine will do one stitch at a time, or keep turning the fly-wheel FORWARDS.

When the needle has taken a stitch through the sequin, shuffle the embroidery forward a bit so that the next stitch is off the edge, back into the fabric.

Now. Stitching beads.


First and most important - and do NOT skip this step! You need to check that your machine needle fits through the hole in the bead. You may need to downsize your needle. I routinely use a 90, so I will go down to an 80, and sometimes even a 70.

And I know it's tedious, but it's best to check every individual bead even if they all came from the same pack. Sometimes there are irregularities.

The process is exactly the same as for sequins, but this time you are stitching through the hole in the bead. Take your time, use the fly-wheel to position the needle, and as long as you have checked your beads first, all should be well. The beads cannot fall into the machine race as the fabric is there to stop it (do one bead at a time, just in case they run away). 

When you have taken the stitch through the centre of the bead, move away from the bead and stitch into the fabric. At this point, pay attention to where the back of your embroidery foot is - even though it usually sits slightly above the surface of the fabric, it still exerts enough pressure to smash a bead. I either stitch without a foot altogether, or move BACKWARDS away from the bead.

The worst that can happen is you break a bead. Actually, the worst that can happen is that you break a needle, but you would have to be stitching hard and fast to do that and hit a previously stitched bead. I can't rule it out as anything is possible!

So - my preferred method is:

1. Check the bead/needle first
2. Use the fly-wheel to position the needle just inside the bead (this also stops the bead running away)
3. Use my foot pedal to take ONE stitch, down and up
4. Move the embroidery towards me a smidge, so the foot effectively moves backwards away from the bead
5. Take a stitch into the fabric, making sure I don't skim the edge of the bead
6. Stitch my way to where I want the next bead, paying close attention to previously stitched beads so that I don't hit them with the needle or the foot.

You could also add a bit of sparkle by using some foil - just sayin'

I know my students want me to put their work up on here, so next week, we'll take a look at their landscapes and textured stitching, and we'll talk whip stitch and feather stitch. There's been some lovely stuff taking shape in the practice pieces, but this week we are starting an ambitious three-week project to bring it all together...

Meanwhile, here are a "few" finished pieces:


These are all by Fiona, who had to miss the last half-term to recuperate from an operation, but being Fiona she couldn't just stop and watch daytime TV, she stitched all of these instead! 

Sunday, 6 April 2014

Bejewelled and Boro-d

So here are my finished necklaces.


The dreamcatcher circle has given me ideas for this year's Art Trail. Together with the CD felting and weaving, I think there will be a circular theme!

And I liked the first, smaller blue necklace, and wore it for much of the time while making the others - so definitely wearable!


It's always difficult with machine embroidered jewellery to make something soft, as machine threads always seem to go scratchy - even if they are soft to start with. Metallics are the worst.

I then had the knotty problem of how to display them. A utensil rack found in the charity shop looked promising,

 but a shirt box from the local "gentleman's outfitters" was the final choice - perfect!


I finally made it out of the house on Friday. It's been a week of snuffling with a cold, allergies (I blame the catkins) and smog, sitting huddled over my sewing machine stitching beads for the competition, so by Friday I was ready for a change of scene.

Someone had given me a freebie ticket to the creative stitches show (which was just as well considering how much I was fleeced for a Travelcard...) so I toddled off there first. I wasn't sure what to expect, but there were some delightful surprises - including Bobby Britnell's barkcloth shoes, and Dionne Swift doing her thing. I was particularly inspired by Christine Plummer's little books made from recycled paper and Decovil.


And despite not really being a "quilt" person, this log cabin made of old shirts caught my eye (and sorry, I didn't make a note of the maker - I usually do but forgot this time).


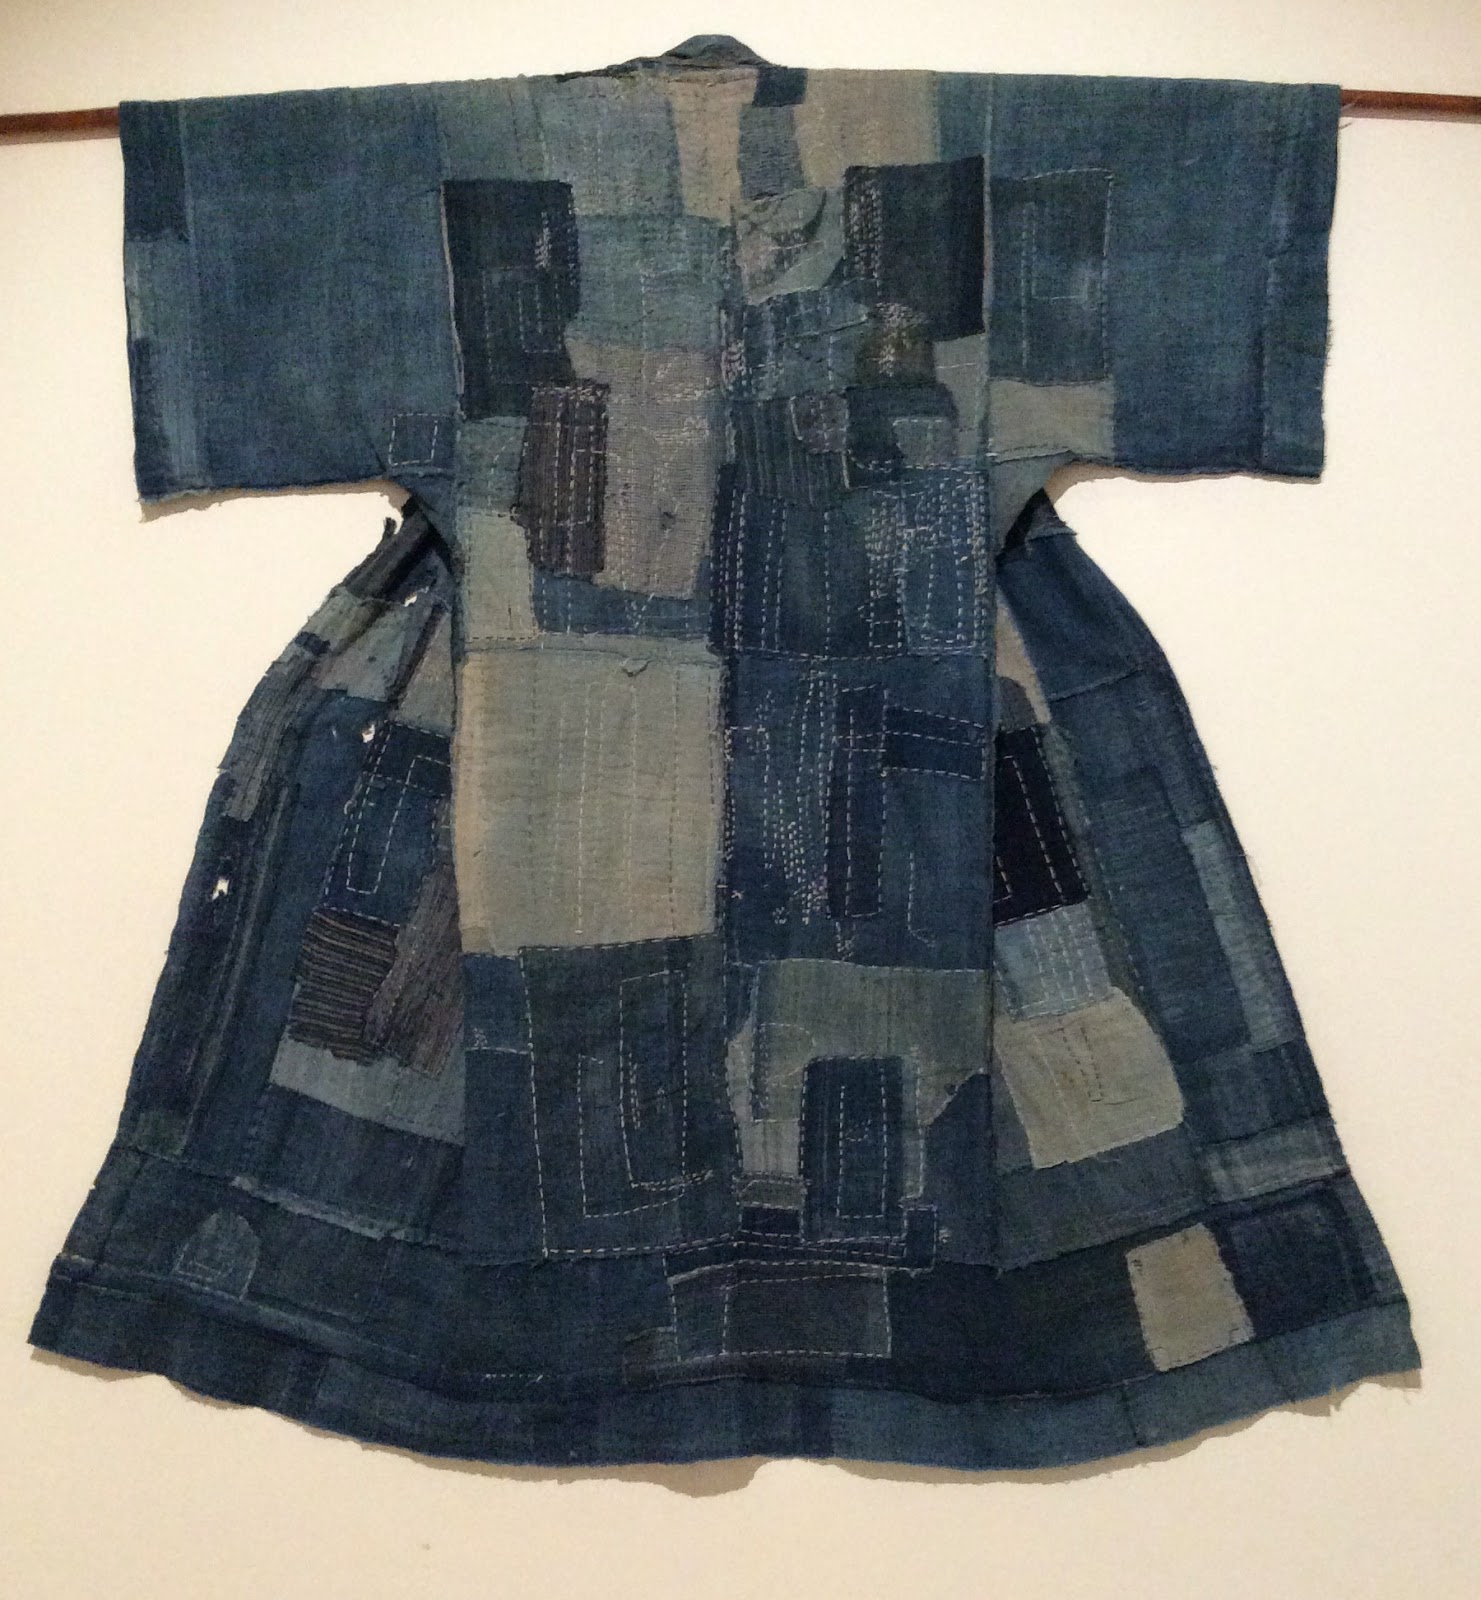
But it was the next visit on my itinerary, the Boro exhibition at Somerset House, that made my day. Absolutely lovely. A real meditation for the eyes. And all the more wonderful as when I tentatively asked if photos were allowed, I was told to take as many as I liked! So I did...


Even Mr G was inspired. He reckoned I could "do something" with old jeans and shirts. Which then strangely reminded me of the shirt log cabin quilt. Maybe he's onto something...